There's nothing like a new technique to make you feel like a beginner again! But that's part of the fun for me (or occasional frustration, lol). I am also getting reacquainted with my backstrap loom set-up.
There is some thing very profound about working in a backstrap set-up. With minimal, inexpensive tools you can weave beautiful cloth. And for me, there's a connection in thought, as I think about all the people who have woven this way for generations in the past. Not only are these textiles beautiful, but generally they had physical function and spiritual meaning in away most of us take for granted. Cloth woven for clothing we now mistakenly call costumes. Those thoughts drew me to fiber arts years ago, that we must try our hardest to not lose these precious, traditional ways. Anyway, that's what I am thinking about while I am weaving.
I was first introduced to Intermesh in Laverne Waddinton's first book, Andean Pebble Weave (2010). In this book it is not introduced as Intermesh, but rather a technique to weave a thicker, sturdier border. Intermesh is a two-heddle weave that produces a sturdy, thick fabric that resists curling and lies flat.

A fellow IGer posts amazing photos of textiles and I saw a few motifs that I thought would look amazing using this technique. And I needed a reason to get back into my backstrap! After trying a backstrap sample (the yurt band motif), my toddler has been really great about not pulling on the sticks.
I got Laverne's second book, More Adventures With Warp Faced Pick Up Patterns (2012) as soon as it came out, and holy cow, what an amazing book! Until now, I've only been reading it, and as much as I want to dive into the Andean Pebble Weave patterns, I know my sons will not tolerate me staring at large pattern charts!
Anyway, in this book, Laverne goes into the Intermesh set-up. If you read her blog, there are pictures scattered among the posts where she has taught this technique at workshops.
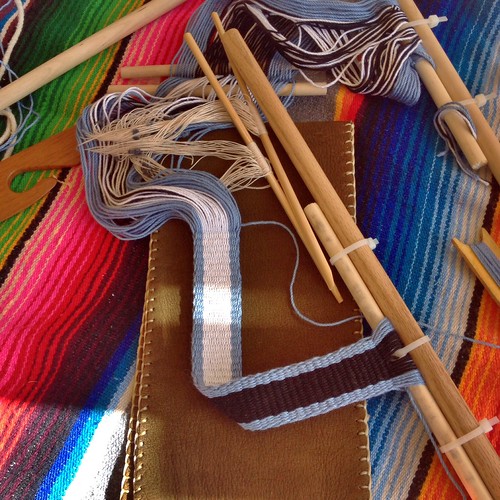
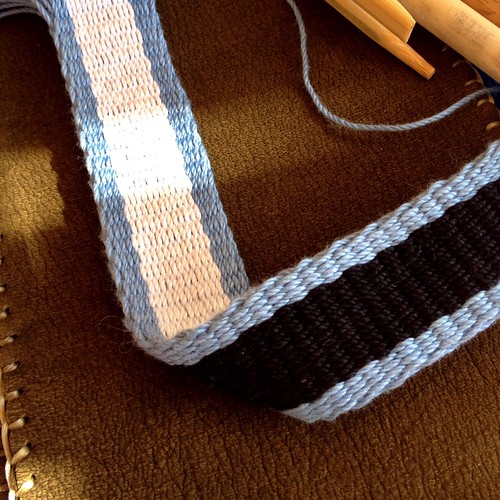
So using the back of my Navajo loom, I set up my warp (it was a pain in the butt - I need to wrangle together a different way to warp). I used size 3 cotton, the blue color is not my style, but works for the sampler.
I will resist doing pick-ups for now. I just want to weave it plain, concentrate on the rhythm of weaving, getting reacquainted with tensioning and the whole backstrap process.
I love seeing the two sides, different colors! Some things I found very helpful while weaving. At Laverne's blog she has a great video/s about dealing with sticky warps. I had a terrible time with opening the sheds about half way thru weaving the band. I also took her advice about weaving the stick shed in one direction and the heddled sheds in the other. As I continued weaving I was able to distinguish which heddled shed I was to weave next. I think if I had jumped into patterning, I wouldn't have concentrated on these basics.
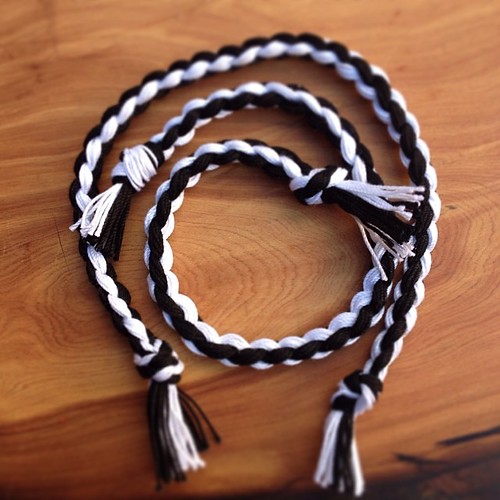 |
| a shed saver cord - 4 strand braid |
At the very end of the band I couldn't help but try a horizontal and vertical line. I am going to warp on for another sample in size 3 cotton and start the tutorials for creating horizontal and vertical lines.
Weaver Speak and Tags: Intermesh, Intermesh Warp Floats, Two-Heddle Intermesh, Plain Intermesh, Two-Heddle Complementary Warp Weave, Complementary-Warp Weave, Double-Faced Complementary Warp Weave.
No comments:
Post a Comment